|
|
|
The Shrinking Tunnel
WARNING:
Although not likley, if not properly built the tunnel could collapse, possibly harming someone. We take no responsibility for anything built because of this webpage. Measurements are estimated, so use your best judgement.
SUPPLIES:
Wood - All 2X4's unless otherwise stated, 1/4" Plywood
Carpet
Black Plastic
Sticky Checkered paper
Common hardware materials (hammer, nails, etc.)
Thin wall pannels
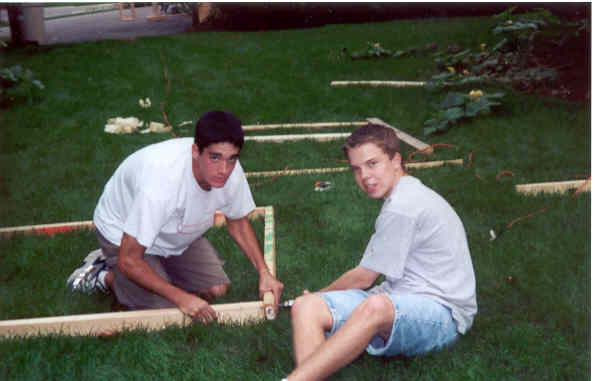
Step 1 (Building the brackets):
4 brackets were constructed in this project. The highest one 7 ft, then 6 ft, then 5 ft, and then 4 ft. The brackets are constructed by connecting the different size bracket (ex: 7ft) 2X4, with a 4' 2X4. This is repeated for all size brackets.
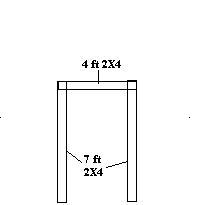
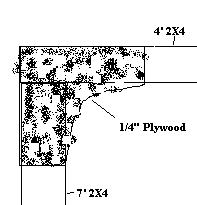
To secure the brackets, pieces of plywood were placed in the upper corners(where 7ft meets 4ft) of the brackets on both sides. The corners of the plywood should be cut with a jigsaw so no corners are showing.
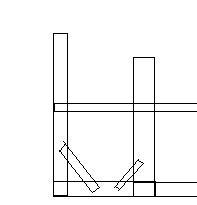
Step 2(Connecting the brackets):
The vertical 2X4's(7ft) were connected to each other by seperate 4' 2X4's at the base. More 2X4's were also used to connect the vertical 2X4's with the base 4' 2X4's, at an angle (as shown below). About 1/2 way up 7' 2X4's were used to connect multiple brackets.
 ......
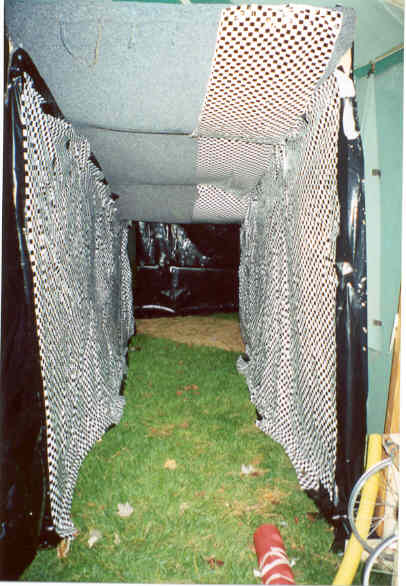
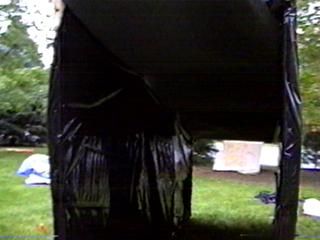
Step 3(Roof and walls):
Because people can hit thier head, the wood must be padded. Carpet was wrapped around the top wood and then one long piece was connected between the top wood pieces.
 .....
.....
Next black plastic was nailed/stapled to the side to create walls.
 ....
....
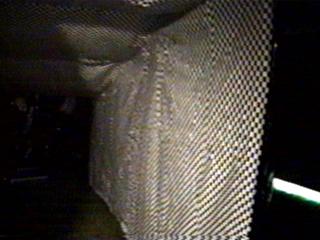
Step 4(Checkering the Checkered tunnel):
We cut up thin wall pannels to fit the ground of the tunnel. This created a floor. Checkered paper was then attached to the floor, walls, and roof, making sure nothing else was showing.
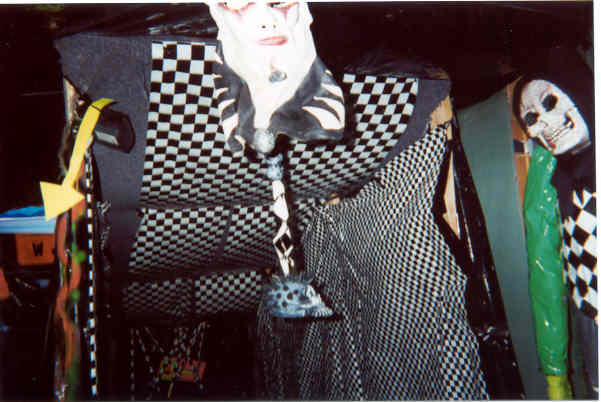
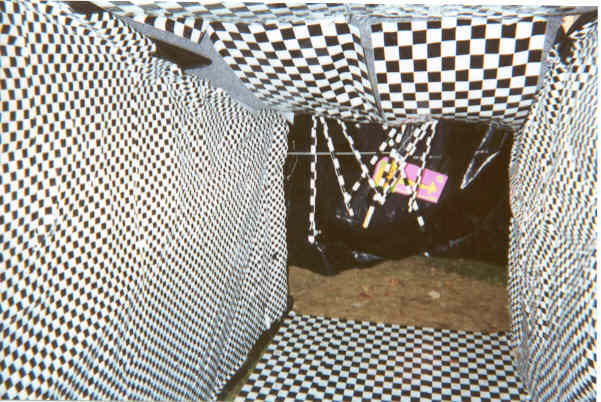
Step 5(Added effects):
These are things that will enhance the effect of the tunnel:
Strobe light - Each end a strobe light was attached, where no one would hit them.
Fog - Fog enhances the effect of strobe lights as well as making the tunnel seem a lot longer.
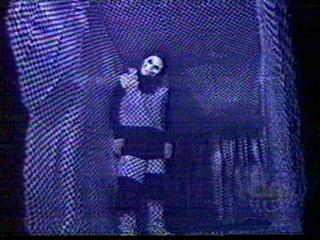
Checkered actors- Using the same checkered paper, attach it to an actor, covering thier whole body.
End - Cut up strips of checkered paper and hang them off the end board.
Link back Home